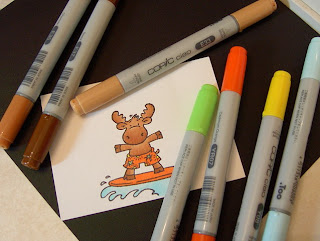
 I have watched the pros color with Copics. And I've had hands-on learning, too. Still, it took lots of practice to finally feel comfortable with the process. I've now realized that I have a different way of making it work.... different from what I've seen anyway. Maybe it will be right for you, too. Just don't give up!
Materials used:
Surfer Riley image from Hannah Stamps
Ink: Palette Noir Black
Georgia Pacific white cs
Copics:
Sand E33 (lightest brown)
Chamois E35 (medium brown)
Sepia E37 (darkest brown)
Frost Blue B00
Cadium Orange YR07
Yellowish Green YG06
Acid Yellow Y08
Step 1: Choose one small section at a time. Use your medium brown and outline where you want the shadow.
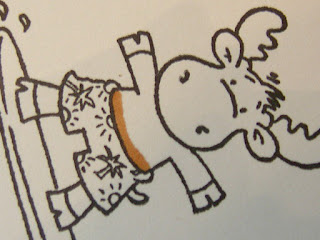 Step 2: Use your lightest brown. Start at the edge and pull the color out just a short distance. You can do the same distance of pulling 2 or 3 times to get an even shading.
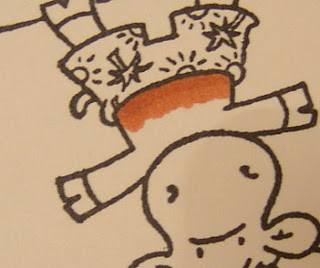
Step 3: Continue to use you lightest brown. Go back to the edge and pull the color out a little further.
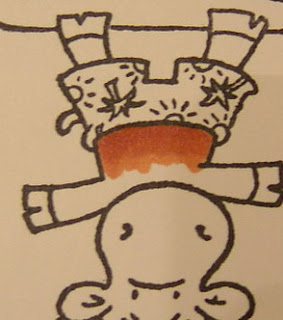 Step 4: Finish the first section by pulling the color all the way out to the end of this section.
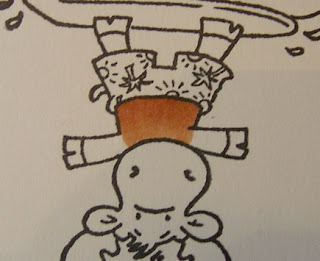 Step 5: Repeat step 1 on a new area. I chose 2 smaller areas (the arms). Use your medium brown to outline the edge for the shadow.
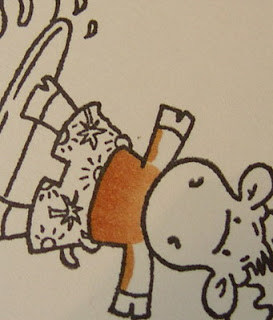 Step 6: Repeat steps 2 and 3 by using your lightest brown and pulling the ink out away from the shadow.
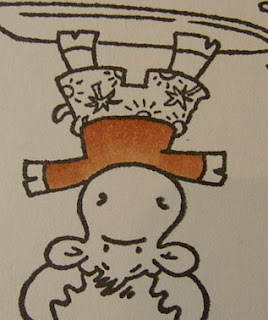 Step 7: Repeat step 1 and use the medium brown for your shadow.
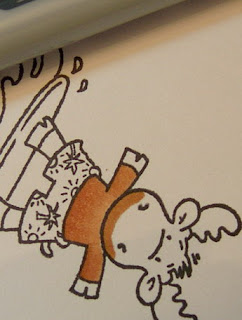 Step 8: Repeat steps 2 and 3 using your lightest brown and starting from the edge of the shadow, pull the color out. Use short strokes first.
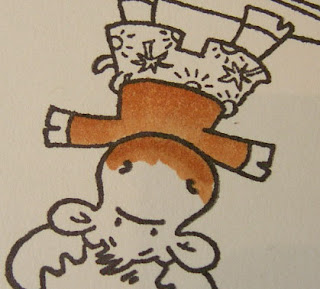
Step 9: Continuing to pull the color out, lengthen your strokes. The more you pull the darker it will get.
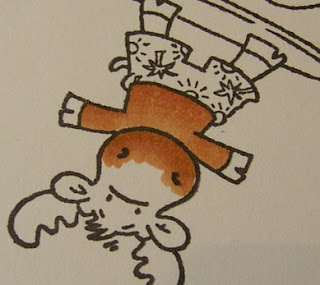 Step 10: You don't always have to use 2 shades. I wanted the ears to be a little lighter. So I only used the lightest shade of brown. But this time, I went over the shadow line 2 or 3 times. Remember the more you color, the darker it gets. Then using the same shade, pull the color out as you did before.
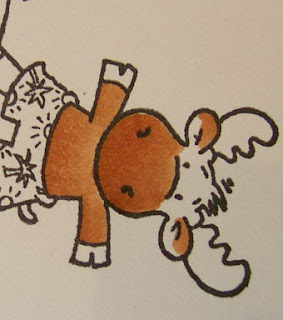 Step 11: With the face, I used just the lightest brown and colored down from the tuff of his fur between the antlers. For the antlers, I used the medium brown for the shadow again.
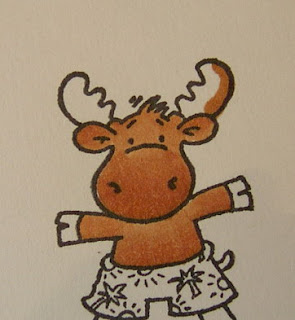 Step 12: Then I used the lighter brown to pull the color across the antlers. I went to the legs and used just the lightest shade of brown like I did for the ears.
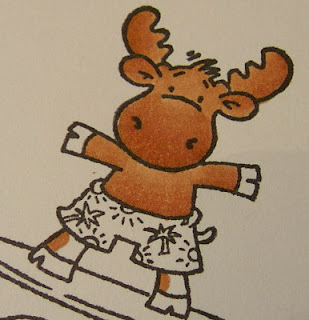
Step 13: I used the darkest shade of brown to fill in the hooves.
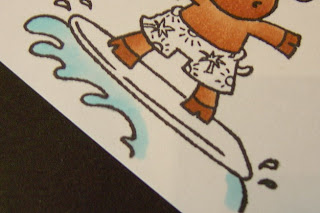
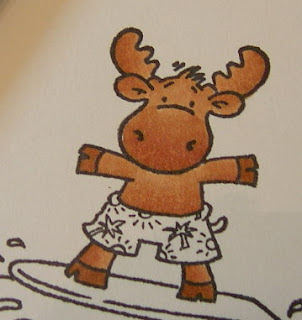 Step 14: I used the frost blue to fill in my shadow. I colored over the shadow a couple of times since I'm using just one shade again. The I pulled the color out.
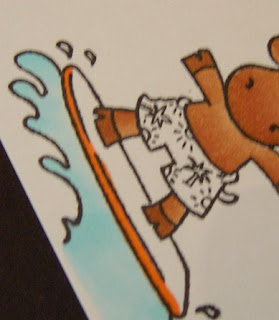
 Step 15: For the surf board, I used just one shade of orange. Then I lightly colored the pattern of the swim trunks.
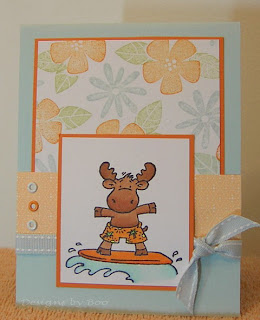
I used Julee Tillman's Mojo sketch 32 for the card. I thought Bodacious Bouquet would be the perfect compliment for this cute surfer moose. I used the rock & roll technique for the blossoms. I first inked the blossom with apricot appeal and then rolled the edges on the pumpkin pie ink pad.
I sent this card to my wonderful MIL. She LOVED her Hawaii trip last year. This isn't the same as a trip, but Riley sure is cute!
Stamps: Bodacious Bouquet - SU, Surfer Riley - Hannah Stamps
Paper: soft sky, pumpkin pie, apricot DSP, white
Ink: black, soft sky, certainly celery, apricot appeal, pumpkin pie
Accessories: Copic Markers, soft sky ribbon, eyelets
Techniques: rock & roll
All paper, ink, and embellishments are from Stampin' Up!
4 comments:
This is such a cute card! Great job with the tutorial! Love your blog!
Great tutorial!!! Glad you found "your" way! I really think there is no right and wrong, and you've given another great option!
Great demonstration.
I found it very easy to follow.
Terrific tutorial...will definitely give this way a try!
Post a Comment